Before starting the disassembly process I should note that I purchased my rebuild kit from NAPA. Each part/component is labeled numerically from 1-90 and you can essentially look at these numbers as steps to follow during disassembly. The parts diagram that came with my rebuild kit can be found here. As always, take plenty of photos during the disassembly process.
I personally recommend avoiding the rebuilt/re-manufactured carburetors sold on Ebay and Amazon. With that being said, I did purchase a dirt cheap re-manufactured unit to use for spare parts. Rebuild kits often don't come with things like jets, throttle-positioner or any of the electrical parts on the carburetor. These parts can (and do) wear out and some of them are either impossible to find, discontinued by Toyota or cost a fortune. As evidence of why you should avoid replacing a factory carburetor with a cheap Ebay/Amazon remanufactured unit, the bowl cover and bowl on the one I purchased were either improperly machined or warped as they did not mate up flush. Had I used it as a replacement I would have probably been plagued by a vacuum leak that would have been a headache to track down.
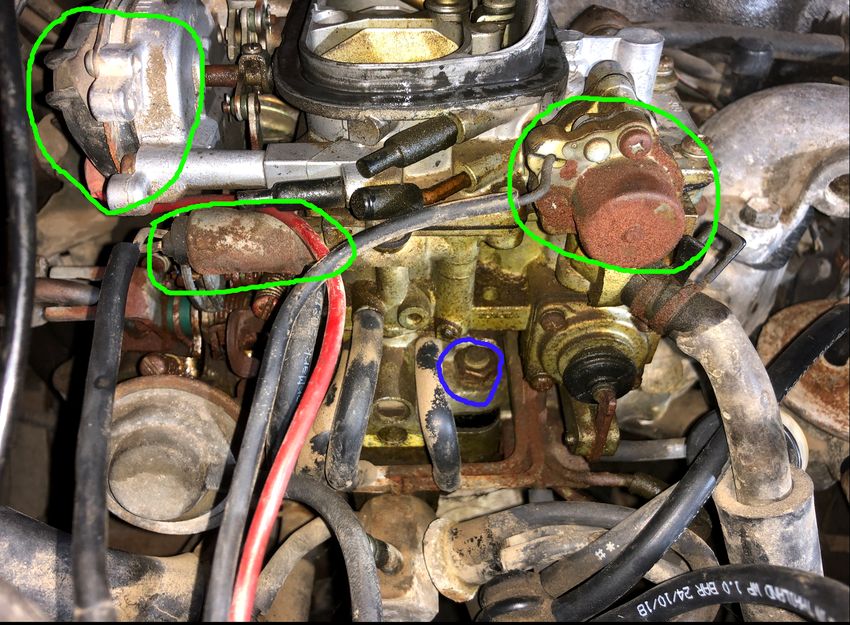
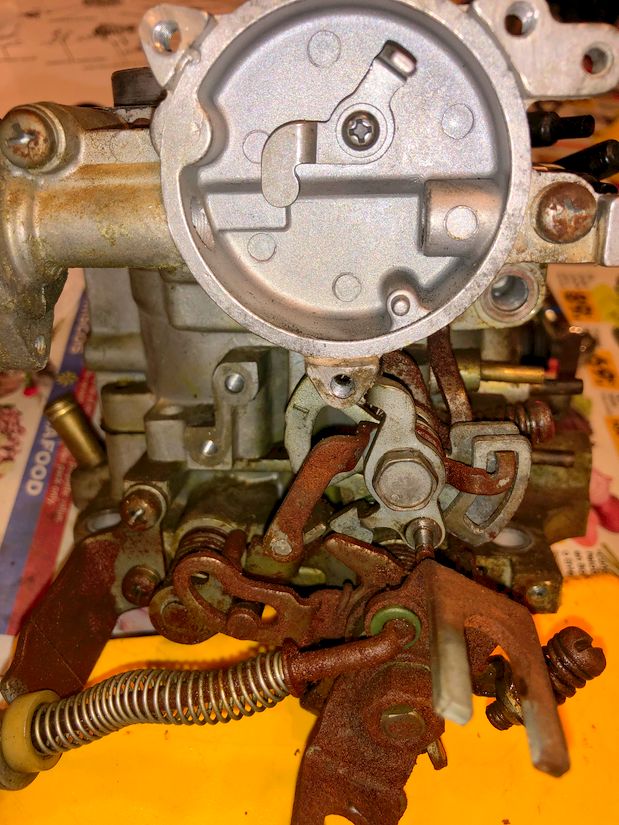
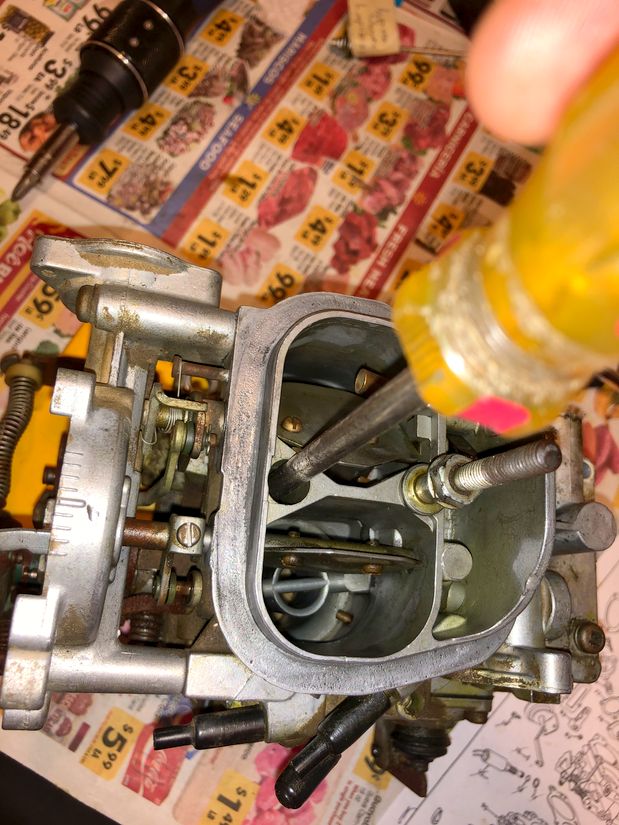
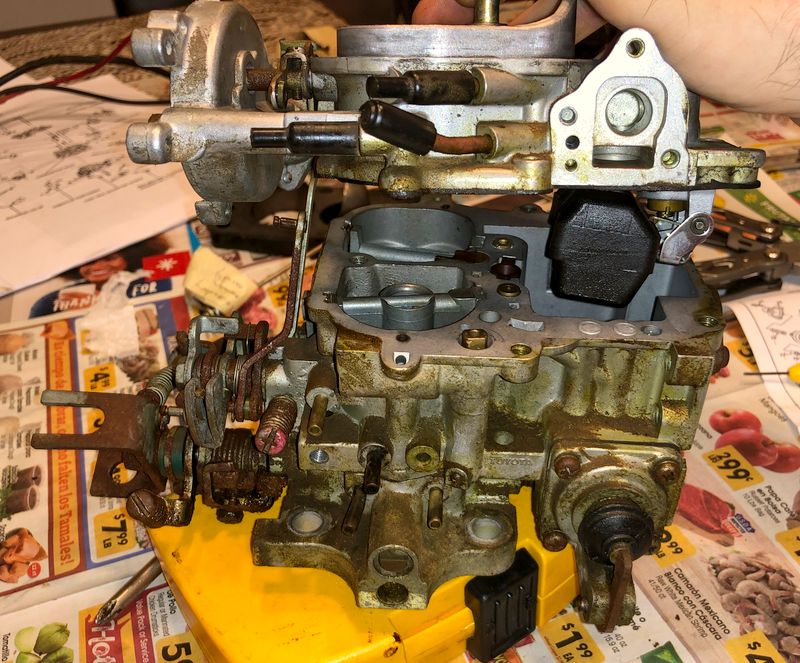
Step 1: Remove choke cover, fuel cutoff and bowl vent assemblies
These three electrical components are circled in green in the image below. In some cases the choke cover has pop-rivets, but mine was held in place with three screws. If yours is riveted, the NAPA kit will come with three replacement rivets. All three components will have gaskets.
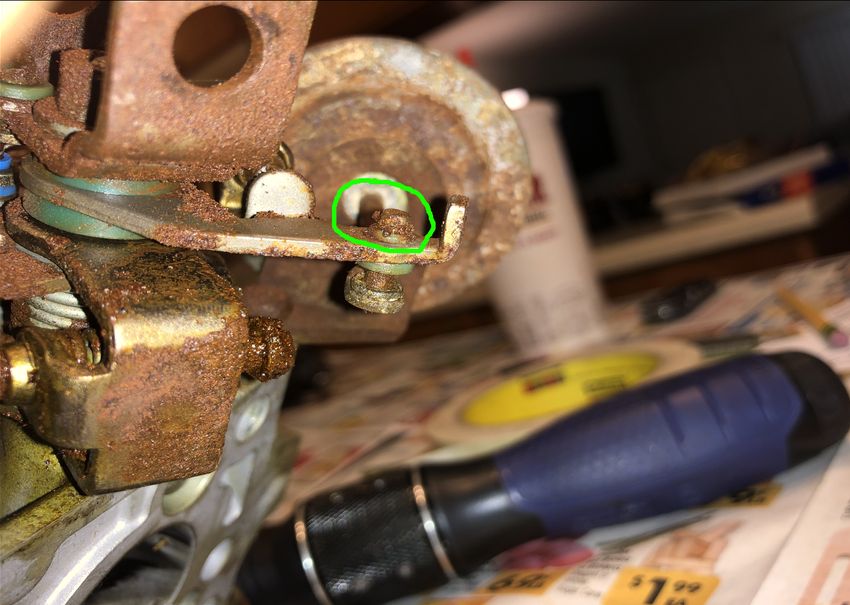
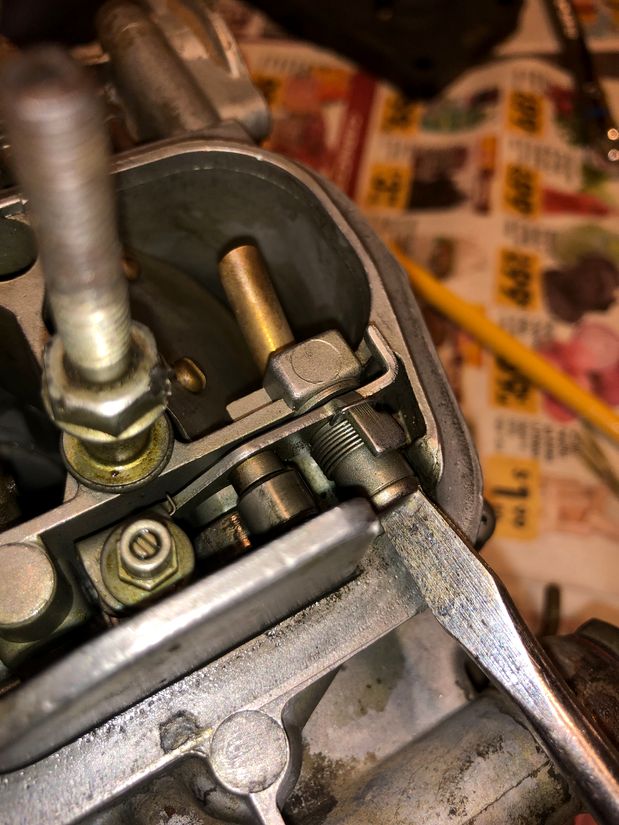
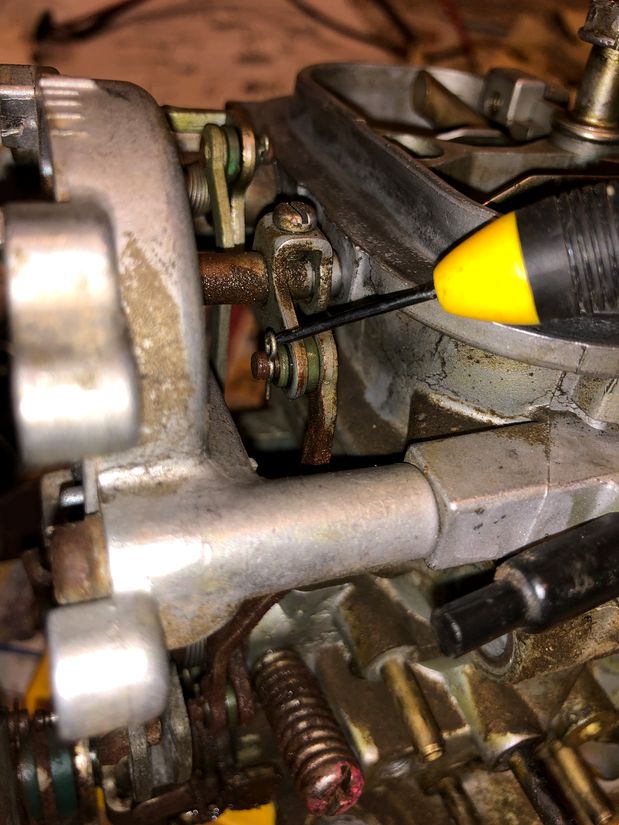
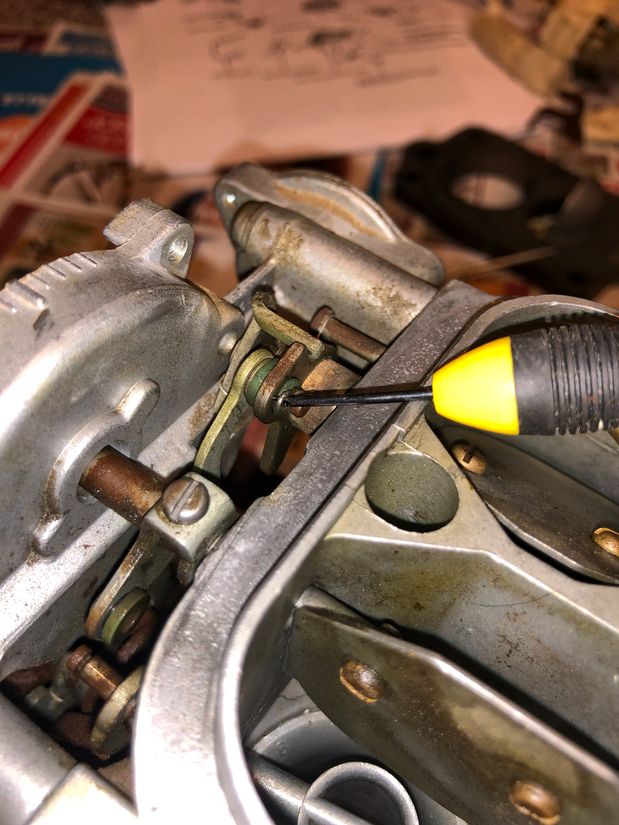
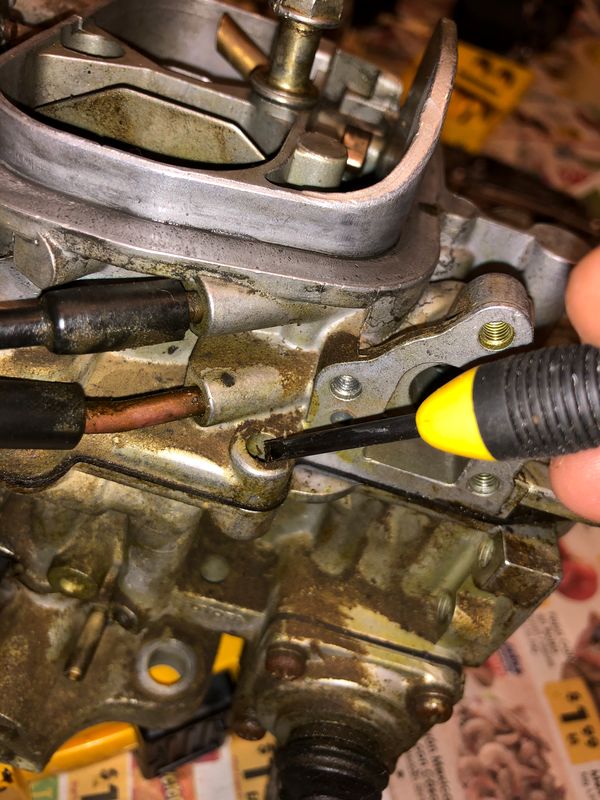
Step 2: Remove Throttle Positioner
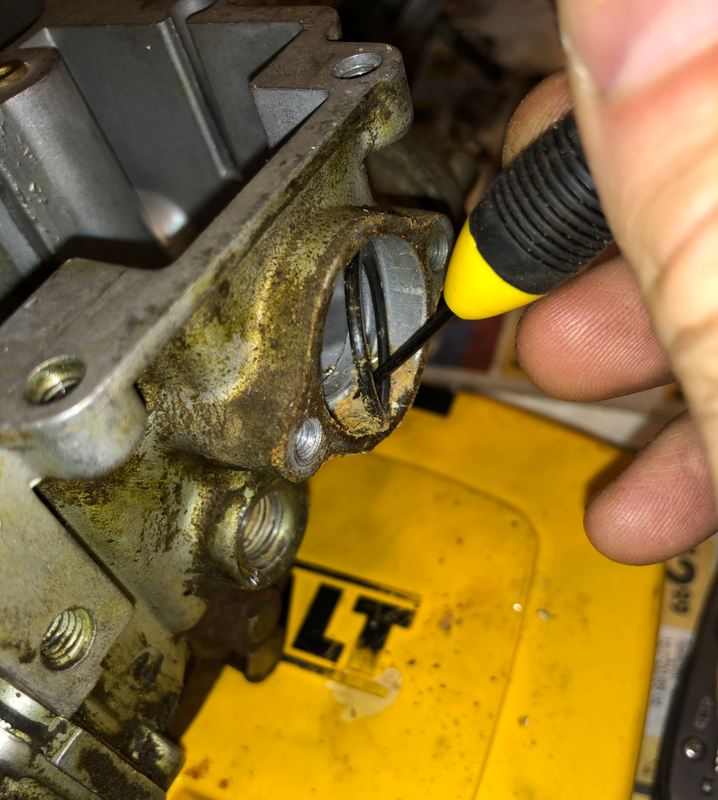
The throttle positioner stem has a small retaining clip circled in green below. Remove this clip then pop the stem pin out of the hole in the lever-arm.
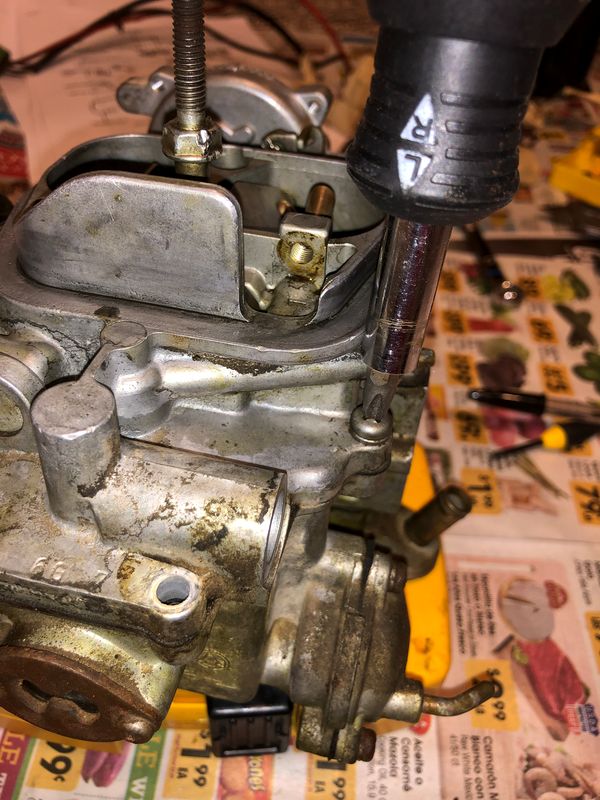
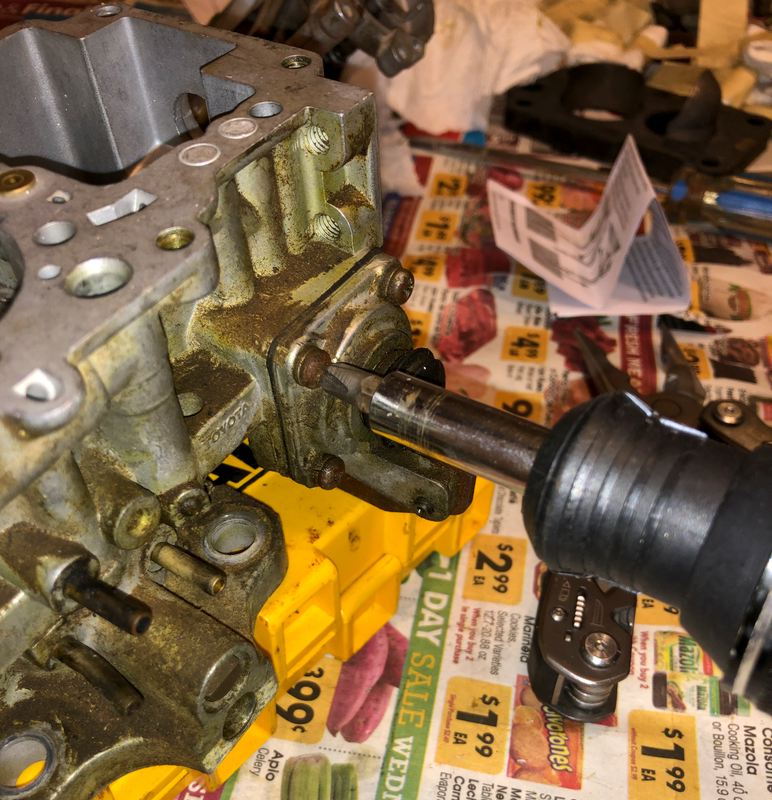
Then proceed to remove the screws holding the throttle-positioner in place:
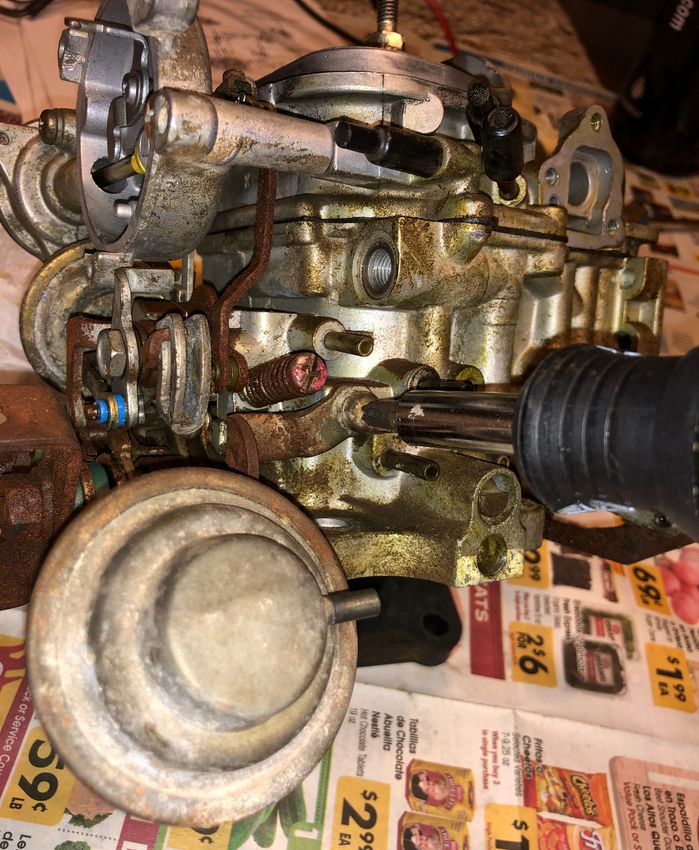
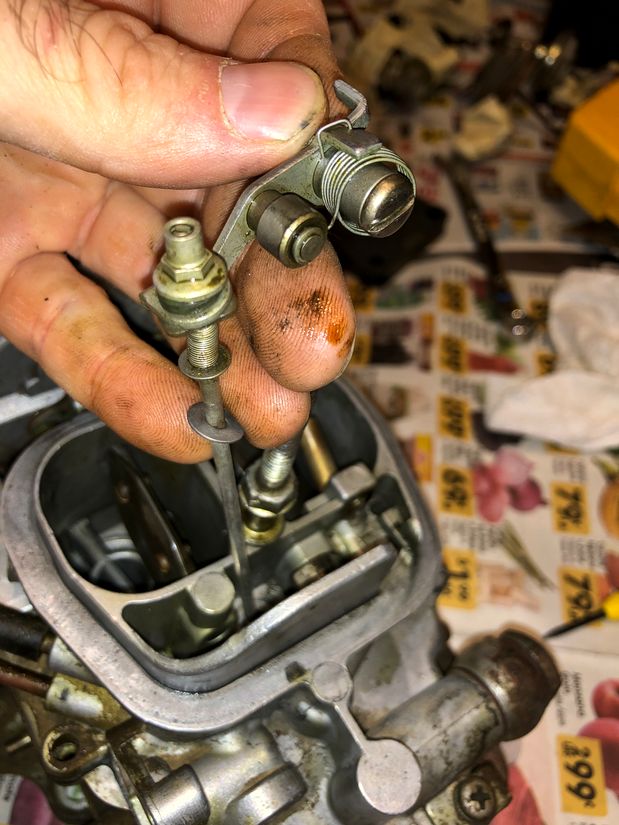
Step 3: Remove Choke-breaker diaphragm assembly
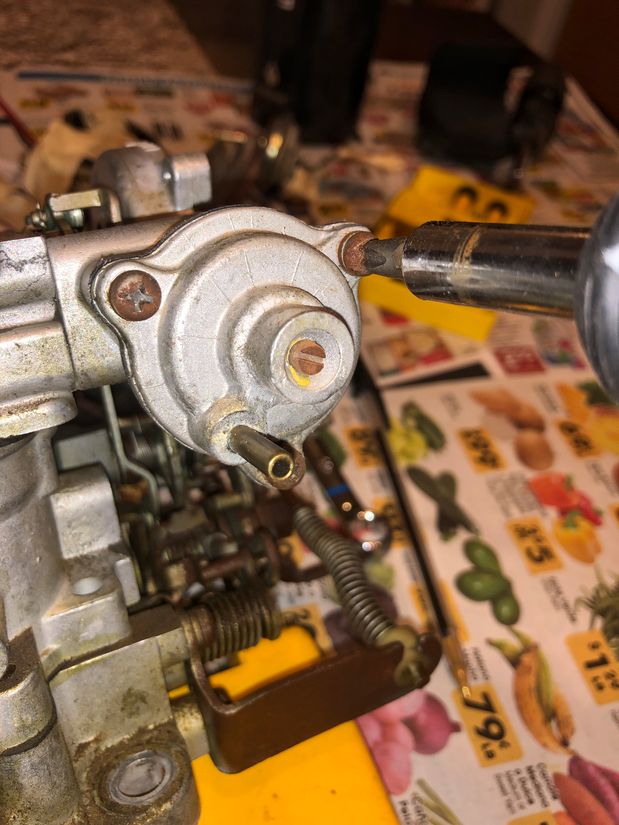
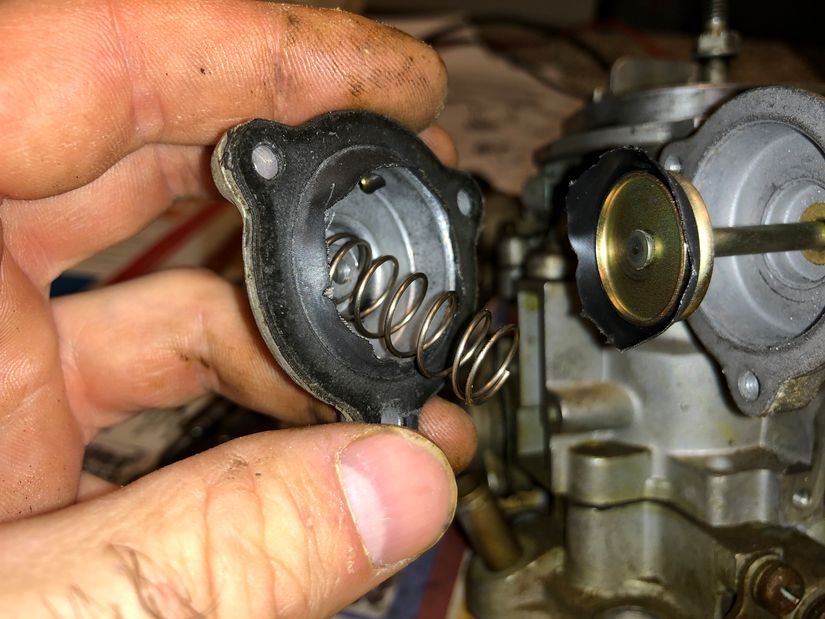
The diaphragm on my carburetor was pretty well stuck to the choke-breaker cover and since I was going to be replacing it, i just cut the diaphragm. The spring can be seen inside (save this spring).
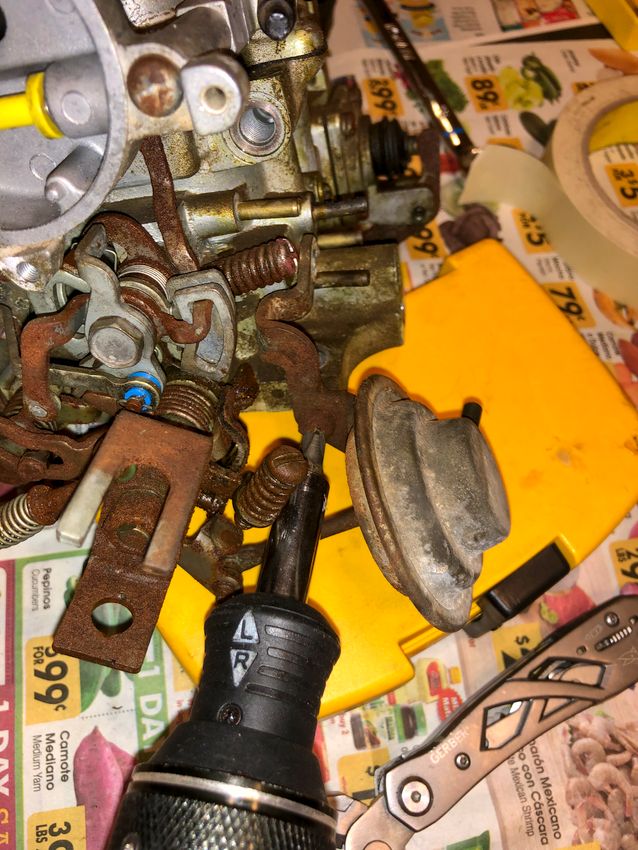
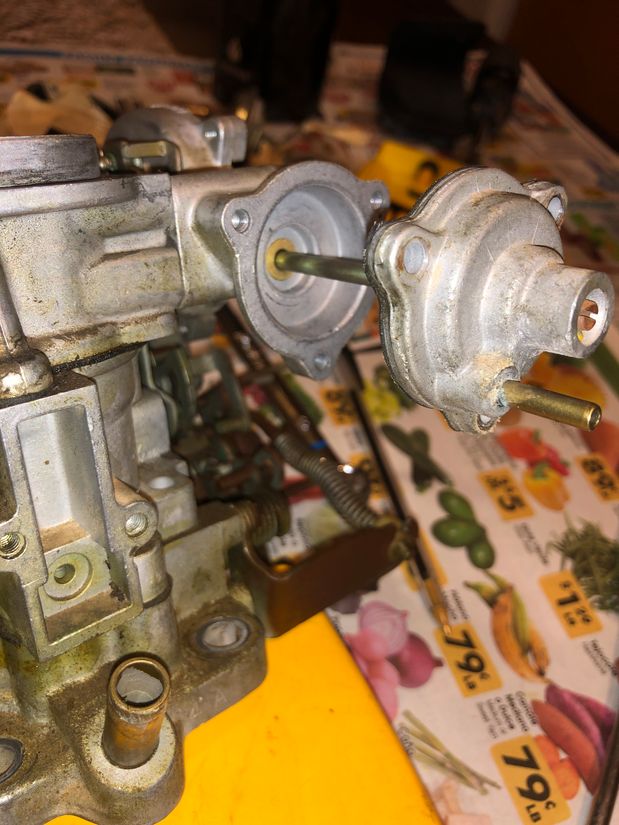
Next proceed to remove the small clip that holds the yellow plastic inner/outer bushings and spring on the choke-breaker diaphragm stem. The go ahead and remove the stem from the choke housing:
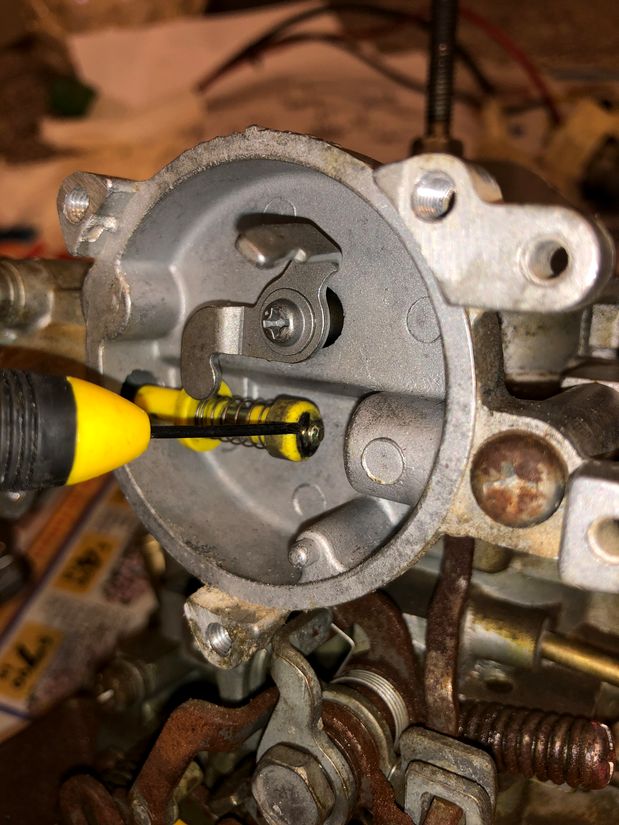
Photo of the choke housing with the above steps accomplished:
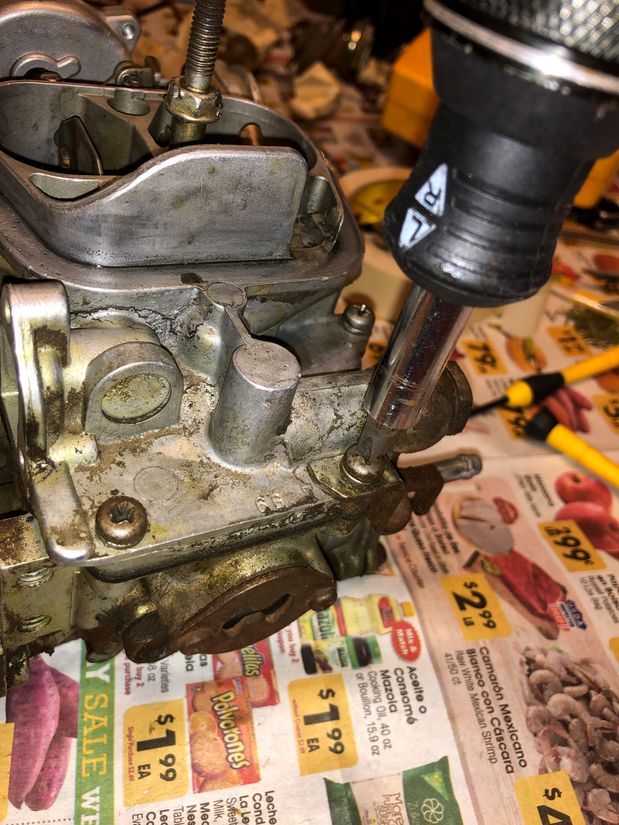
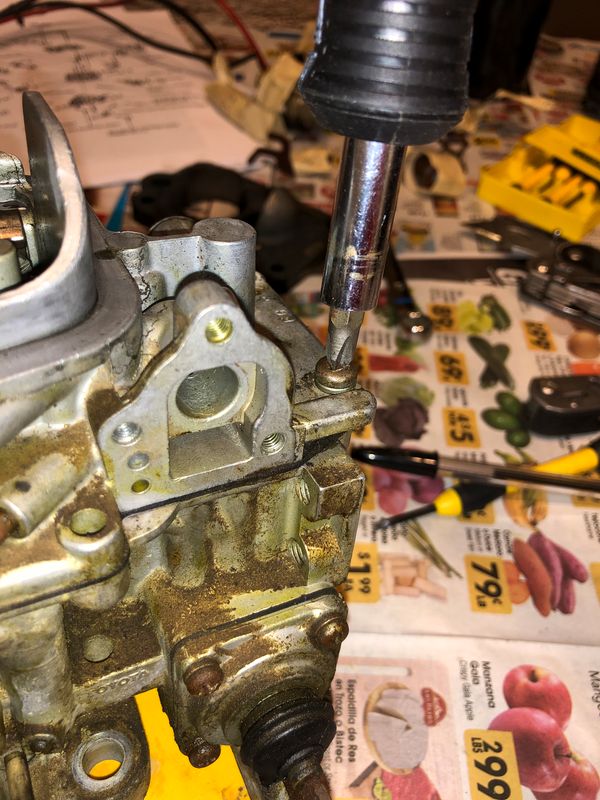
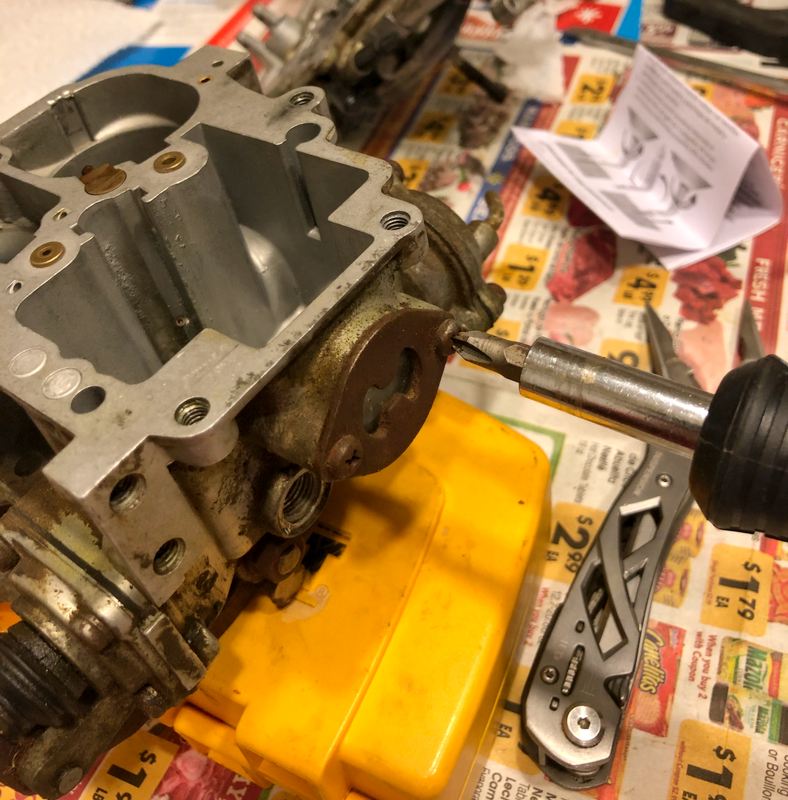
Step 4: Remove secondary metering needle assembly
Start by removing the screw that holds the assembly in place (near top of carburetor):
Then remove the assembly:
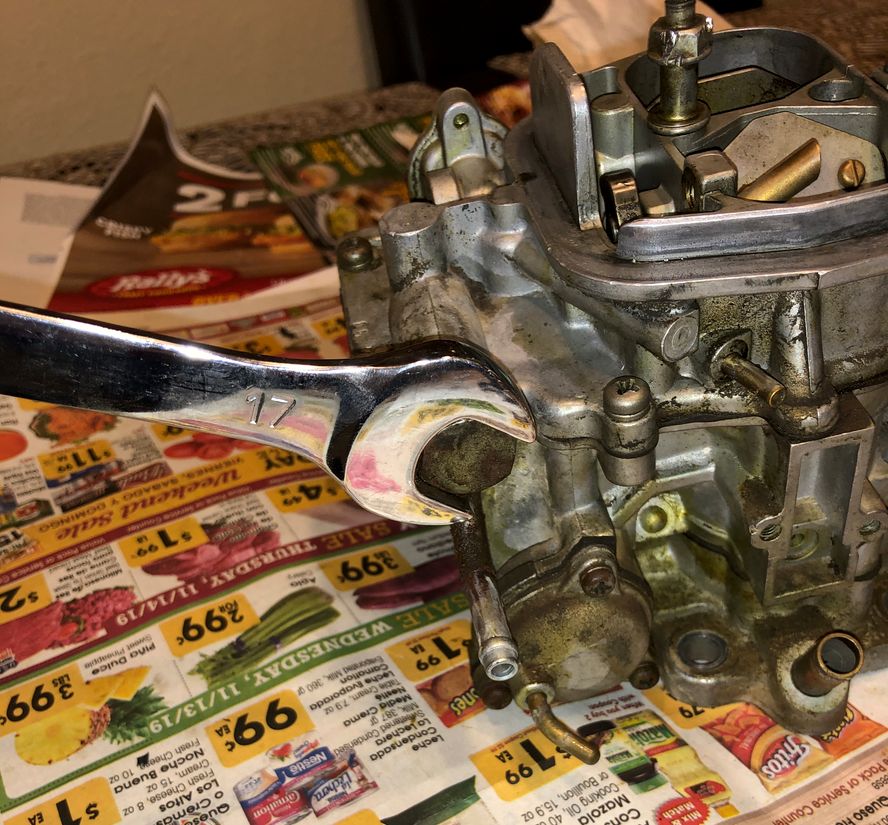
Step 5: Remove fuel union
Start by removing the screw that holds the fuel-union bracket:
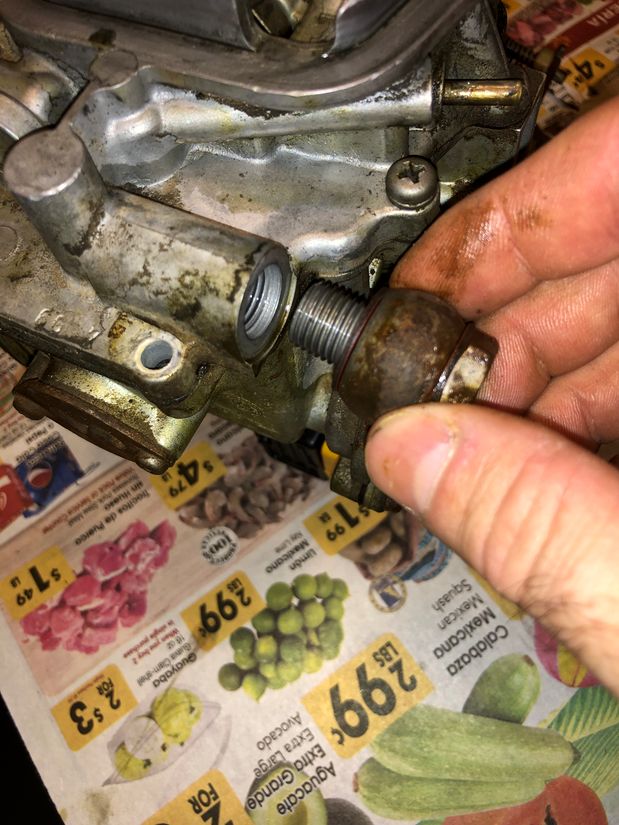
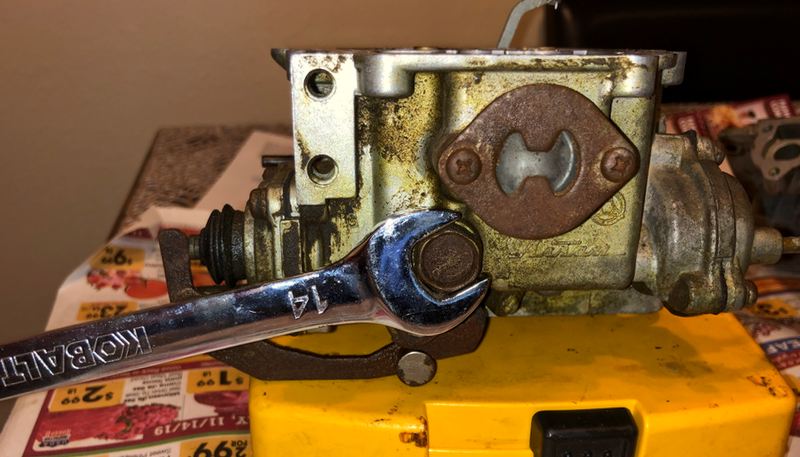
Then use a 17mm wrench to remove the union, bolt and two gaskets:
Step 6: Remove bowl-cover assembly
First remove the two clips that hold the link arms going to both air valve plates on the top of the bowl cover assembly:
Then remove the remaining screws and lock washers holding the bowl-cover assembly to the bowl. One screw is recessed in between the 2 butterfly air valves and one was already removed when we removed the fuel union. My particular carburetor was missing one screw prior to disassembly.
Then remove the bowl-cover assembly from the bowl. (Note the presence of a gasket stuck to the bowl cover assembly. ):
Step 7: Remove the float and needle + seat assemblies
The float is hinged to the bowl cover assembly by means of of a pin which comes out easily:
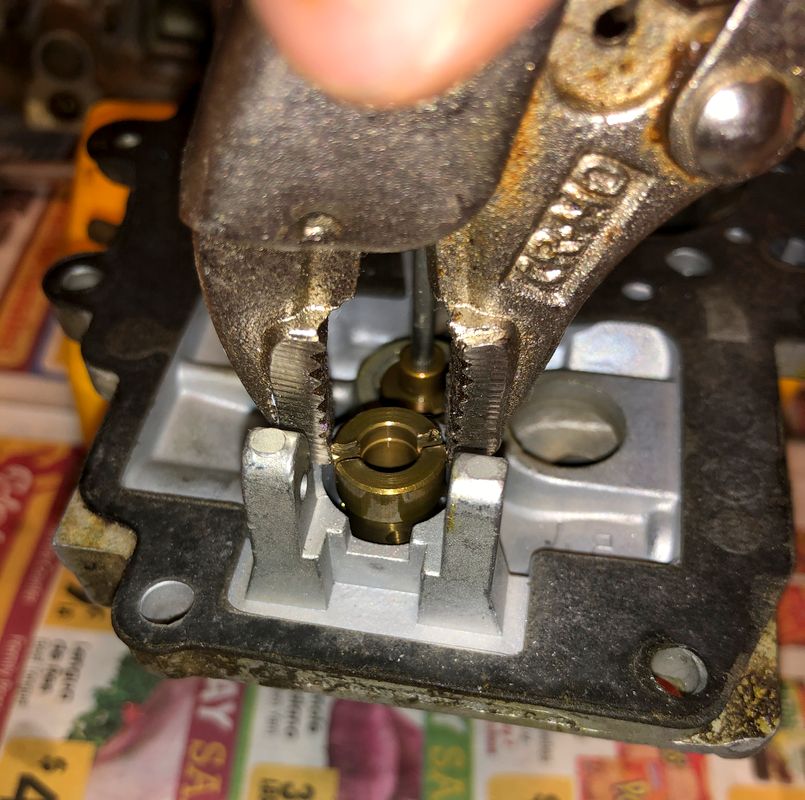
Remove the needle...
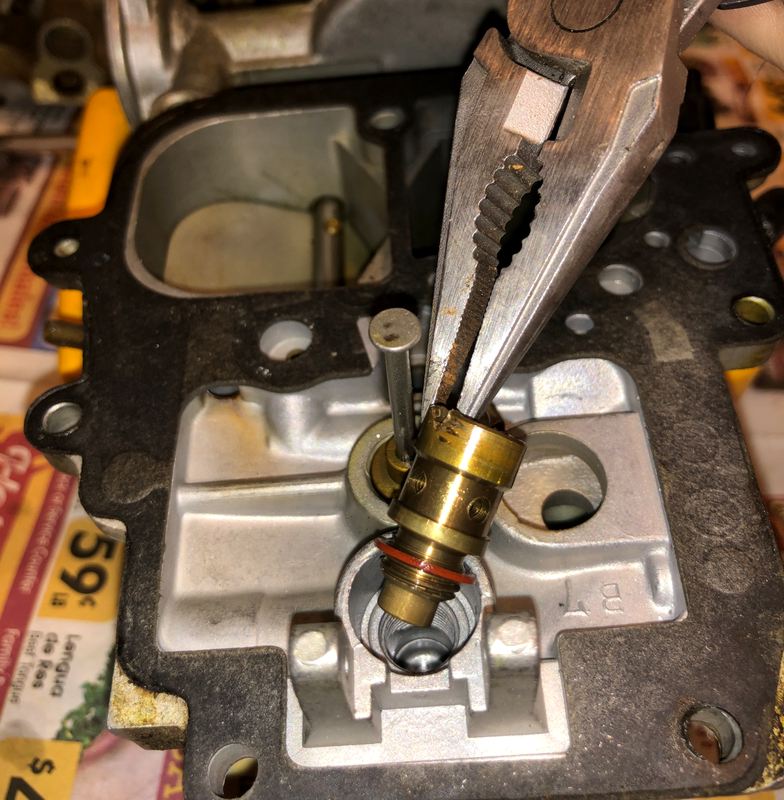
...then the seat (mine was stuck pretty good, but the rebuild kit has a replacement so I didn't worry about gouging it with vise-grips ...
Seat with gasket removed:
While we are at it, go ahead and remove the power-piston (which is spring loaded and held in place with a screw and retainer.)

Step 8: Remove the primary and secondary venturis
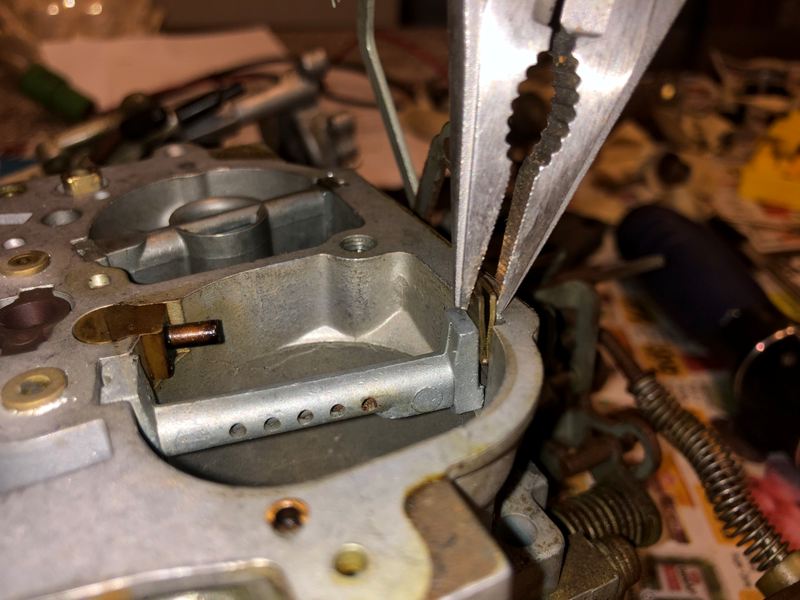
Both are tightly held in place with shims. You may have to gently pry upwards with a screw drive to wiggle them loose. The shim for the secondary venturi is shown below:
Here is the secondary venturi with a small o-ring on one end. The primary venturi comes out in a similar manner and also has an o-ring. On a side note, my rebuild kit didn't come with replacement o-rings for the venturis but I was able to purchase two of the same size from NAPA.
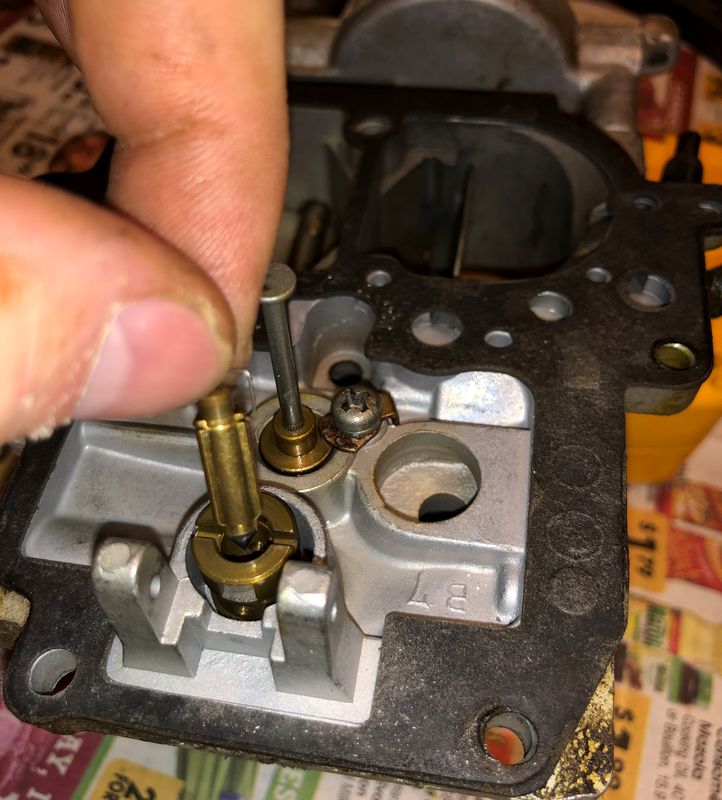
Step 9: Jets and power valve
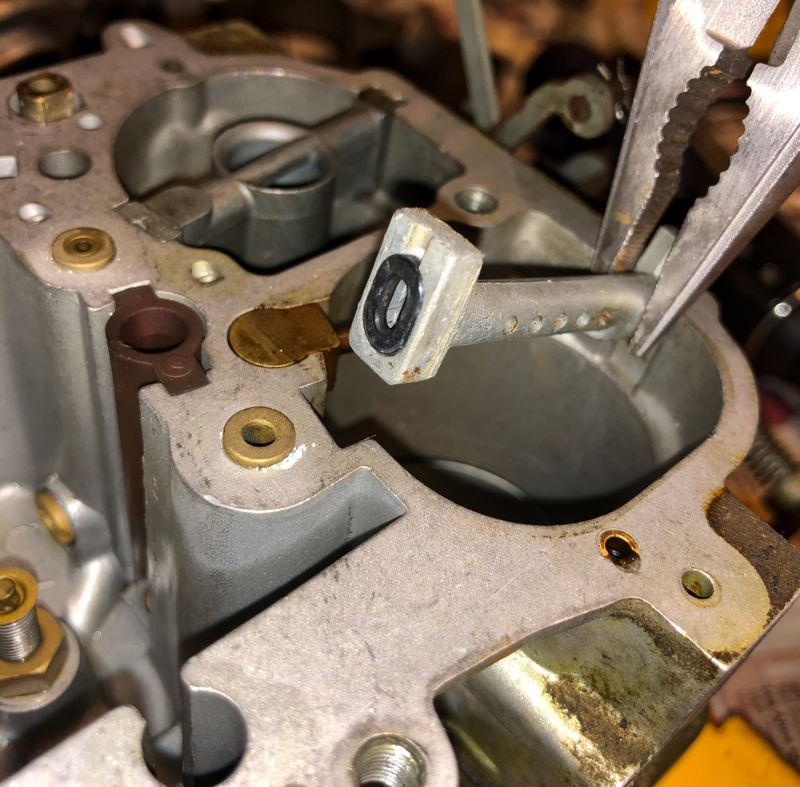
Remove the plastic metering-needle guide from the bowl assembly:
The secondary main jet is underneath the guide and comes out with a flat-head screw driver:
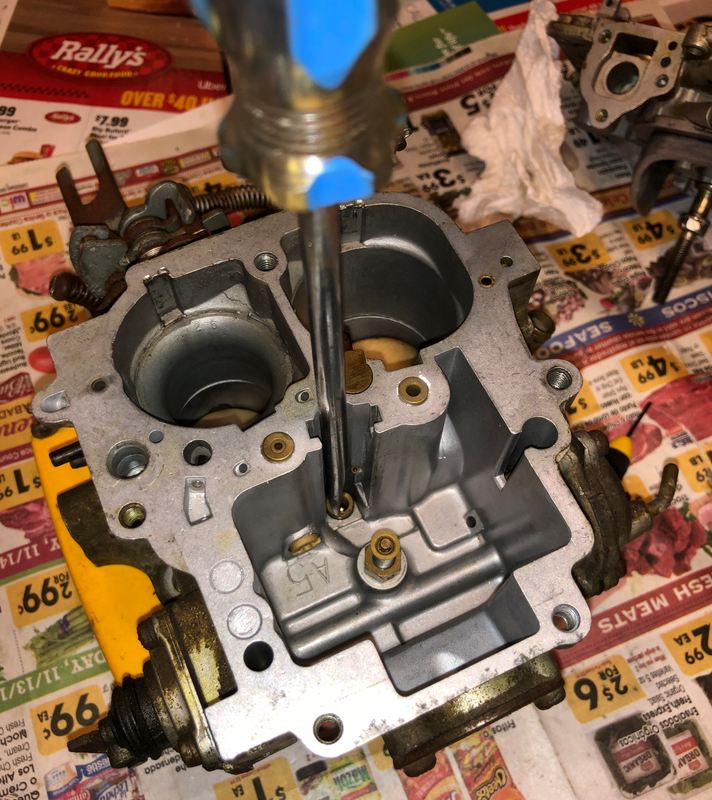
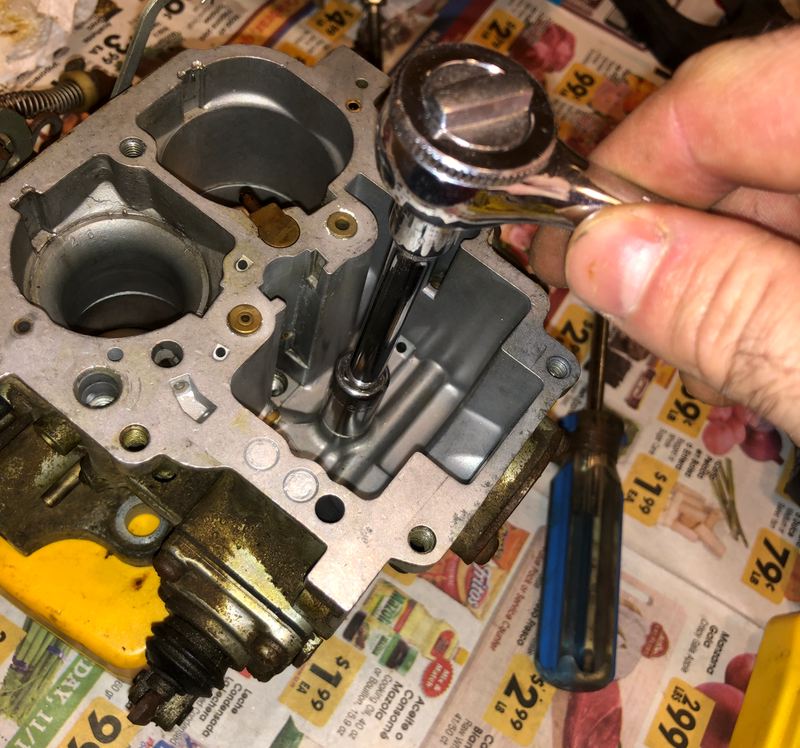
The power valve comes out with a 9mm socket:
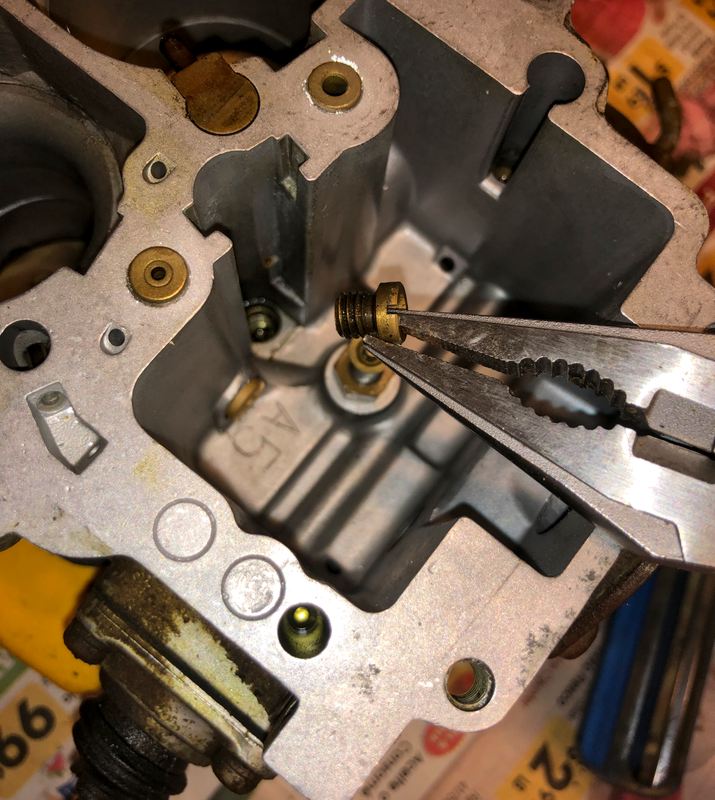
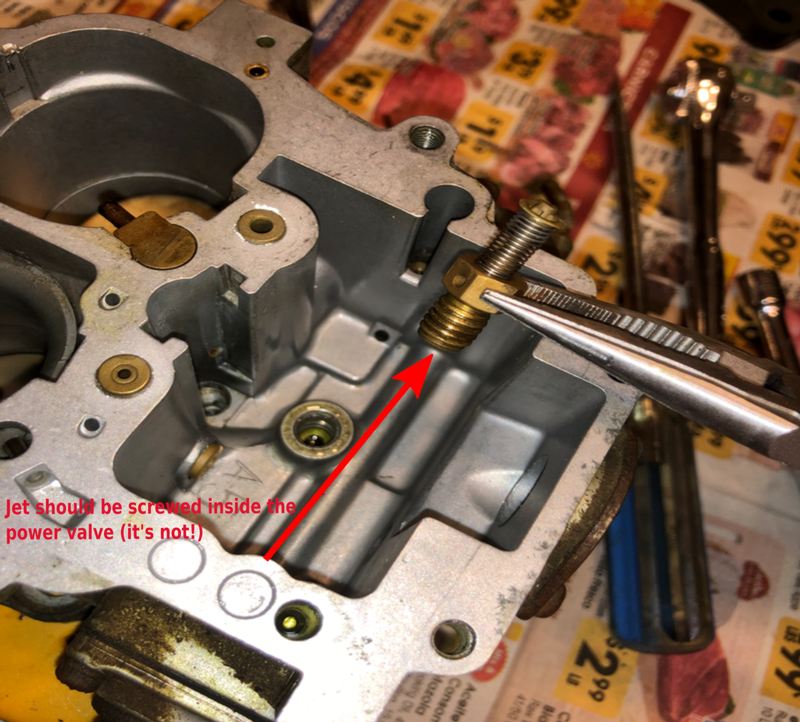
There should be a jet that screws into the power valve (according to the parts diagram) but mine didn't have one. I noticed that the re-manufactured unit didn't have this part either so I experimented with leaving it omitted. The truck seemed to run fine without it, but it's possible there are differences here amongst the varying model years and regional areas in which the vehicle was sold. In other words don't take my word as gospel that your truck will run correctly without a power-valve jet.
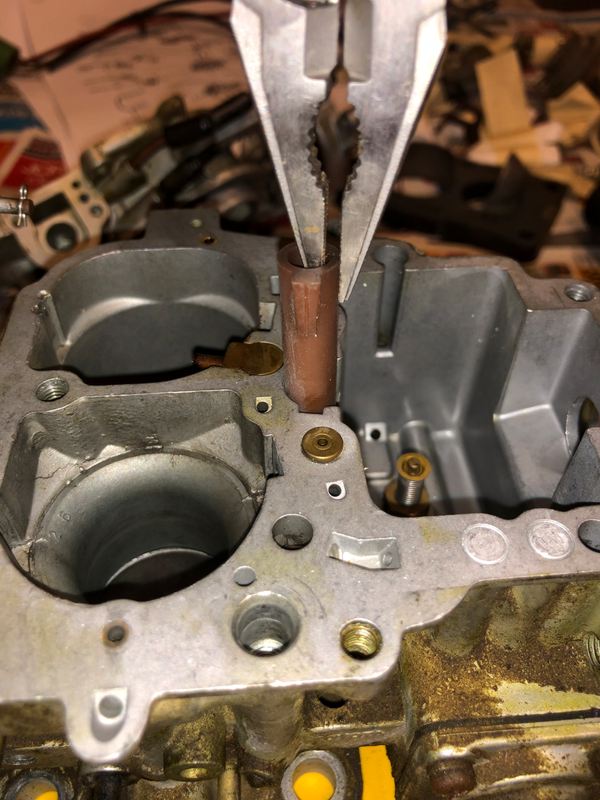
To get to the primary main jet you have to remove a 14mm plug (with a gasket) from the bowl:
You can then slide a flathead screwdriver through the plug hole to get to the primary main jet. The jet will have a gasket as well:

Note of caution about primary and secondary main jets:
Unfortunately the main jet on my carb was seized in place and I had to drill/extract it with an EZ-out (which obviously destroyed it). Luckily I was able to get another one from Toyota. I also ended up losing the secondary main jet (bone-headed mistake) and this proved much more difficult to replace. Toyota has discontinued it in their parts department and they are non-existent on the internet when you search by vehicle and carburetor model. Apparently Hitachi jets can be used as replacements, but without the jet in my possession I has a hard time finding any conclusive information regarding its size, dimensions or thread pitch. I ended up using the jet in the parts carburetor I had. In conclusion, I would leave these two jets alone. If you are able to squirt carburetor cleaner through them (and it comes out the other end somewhere), then the jets are probably fine. Needless to say, new ones don't come in the carburetor rebuild kit and it you lose or damage them you could be in for some headaches.
Step 10: Remove sight glass window assembly
Two screws hold the frame, window and gasket:
Window:

...and gasket
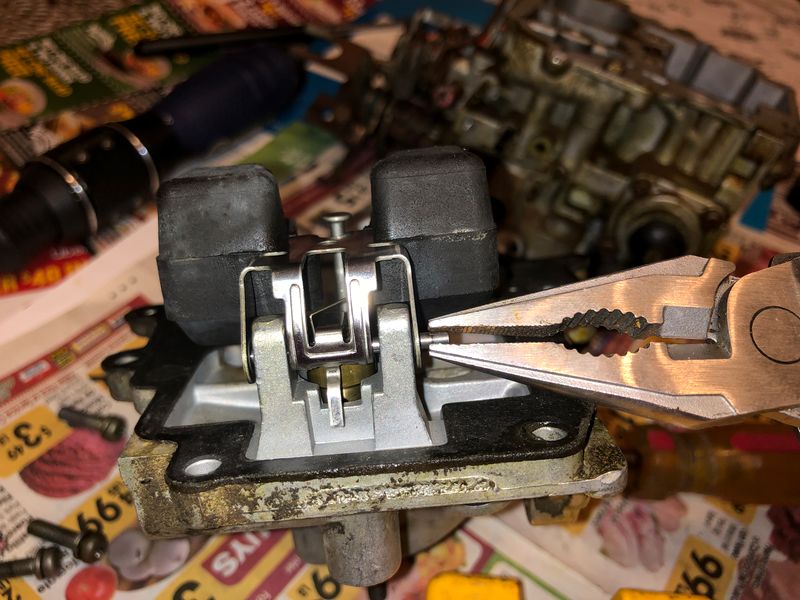
Step 11: Remove the acceleration pump and auxiliary acceleration pump
It's held in place with four screws. After removing the pump cover you can then remove the diaphragm, stem and rubber boot (the rebuild kit has replacements for these). Don't lose the spring however, as there is no replacement spring in the rebuild kit.
I neglected to photograph the removal of the auxiliary acceleration pump, but it is opposite the main pump and is held in place with 3 screws. I my case I discovered that the previous rebuilder omitted the required gasket. (This guy has about 4 strikes by now.) The rebuild kit will contain a new diaphragm and gasket.
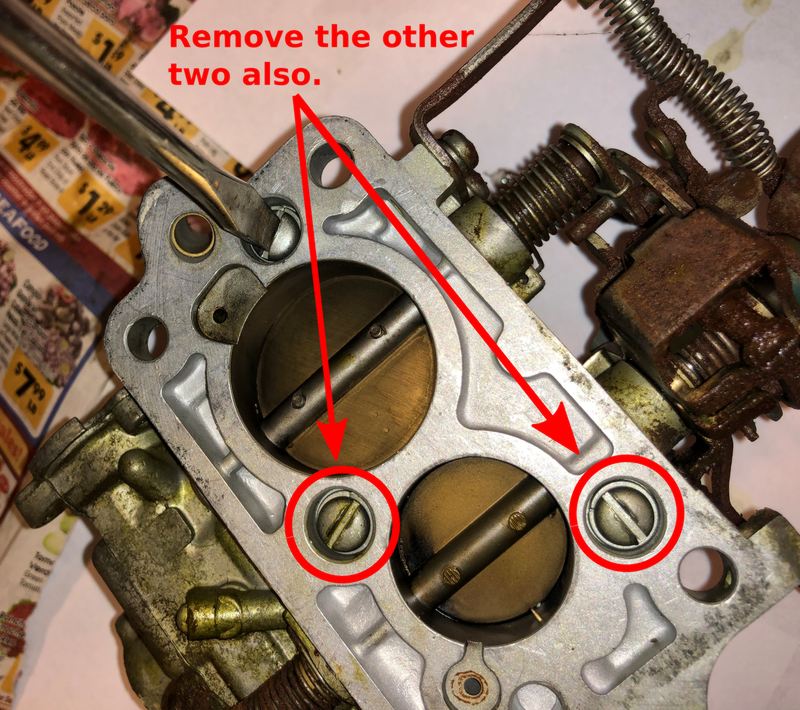
Step 12: Separate the bowl assembly from the throttle body
Doing so requires the removal of three screws and lock washers from the underside of the throttle body assembly:
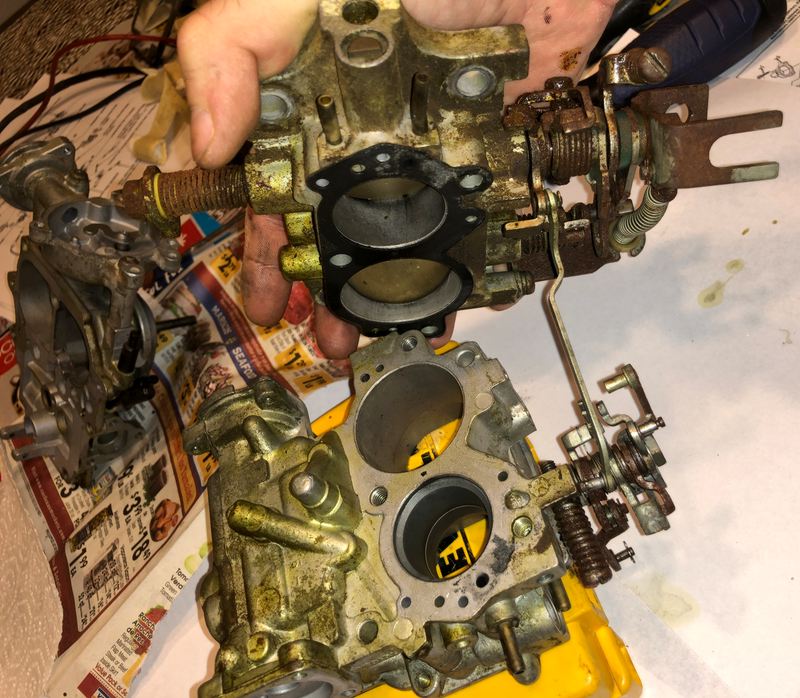
Then separate the bowl assembly from the throttle body assembly. Note the presence of the gasket in the photo. Many rebuild kits come with a replacement, but mine didn't for some reason. I was able to locate a new one however.
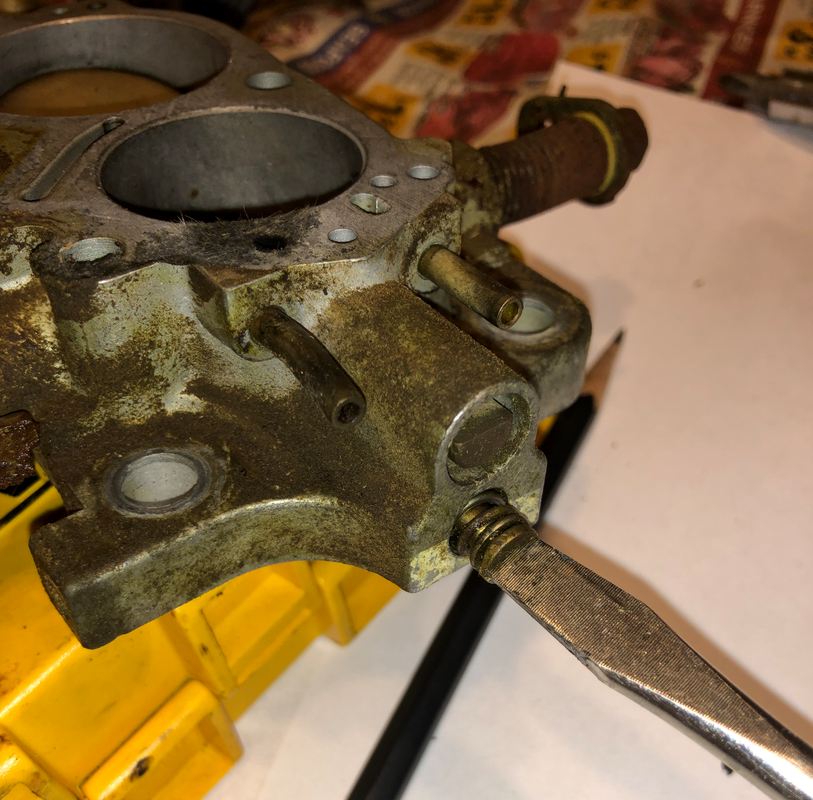
At this point I also removed the idle mixture screw and spring. You may find internet postings claiming that you should never ever, ever, ever mess with the idle mixture screw. I fail to see the big deal but like I said at the beginning of this, I'm not a trained mechanic. If you are convinced that your idle mixture is set correctly, then count the number of turns clockwise until the screw is lightly seated (and make note of it). If for some reason you forget, (or you suspect it's out of adjustment) the recommended starting point for tuning purposes is two and a half turns out from lightly seated. If your screw has never been touched before there may be a plug that is meant to deter such bad behavior and requires careful drilling to remove. (Mine had no such plug.) Decide for yourself whether you want to do this or not, but it is possible for crud to build up in there.
This concludes the main disassembly of the carburetor. Simply work backwards from here for reassembly replacing the parts that came with your rebuilt kit as well as any additional worn-out parts that need replacement.
The carburetor parts diagram and adjustment instructions for the float can be found on the next page.