
Building the Frame.
While the 3D models seen in this tutorial are a good visual representation of the layout of the frame and thrusters, they are not meant to be a dimensionally accurate representation of the final vehicle. They are also not a true representation of the materials used. I drew them up more for fun then anything and we will be using a much more humble material for the frame construction (aka PVC pipe). PVC pipe has the benefit of being cheap which is important if this is your first time constructing an ROV. You may end up junking many pieces of pipe during the process of learning what works and what doesn't. Additionally, knowing how to TIG weld aluminum is not a requirement with PVC pipe.
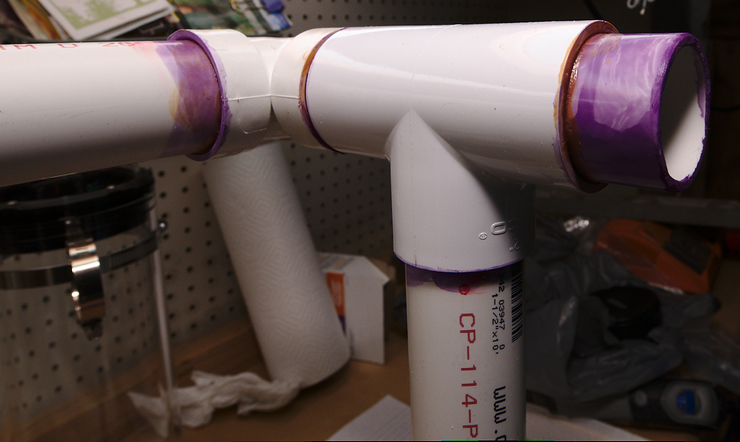
I used 1.5 inch diameter pipe purchased from Lowe's and used the strongest pipe cement they sold. Essentially I just started cutting and joining sections with an idea in my head of how I wanted the overall structure to look. Consideration was given to the placement of the 6 thrusters and two water-tight compartments that would be fixed to the frame. A selection of straight pipes was used in conjuntion with 90 and 45 degree "elbows" as well as "T" joints. The frame was first built as two separate "mirrored" sections which were then joined together at the end.
Prepped and cemented joints:
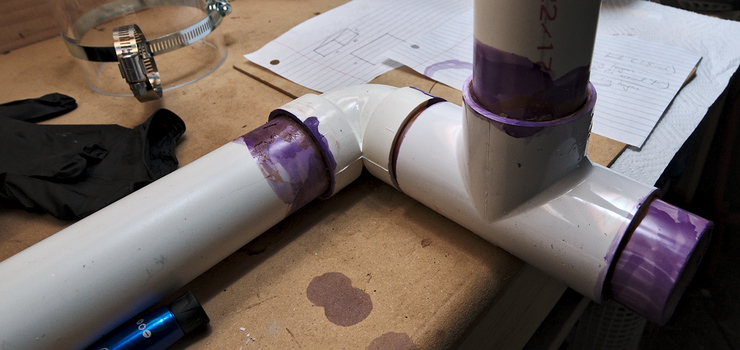
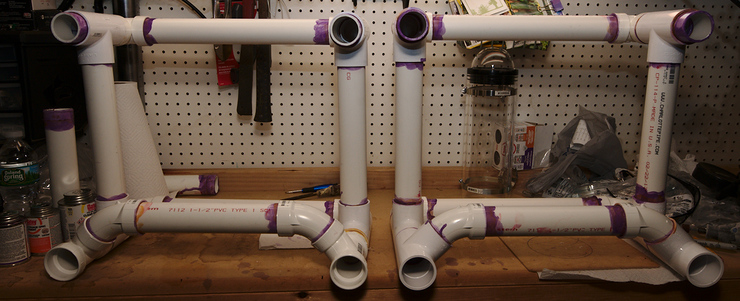
One half of frame partially completed:
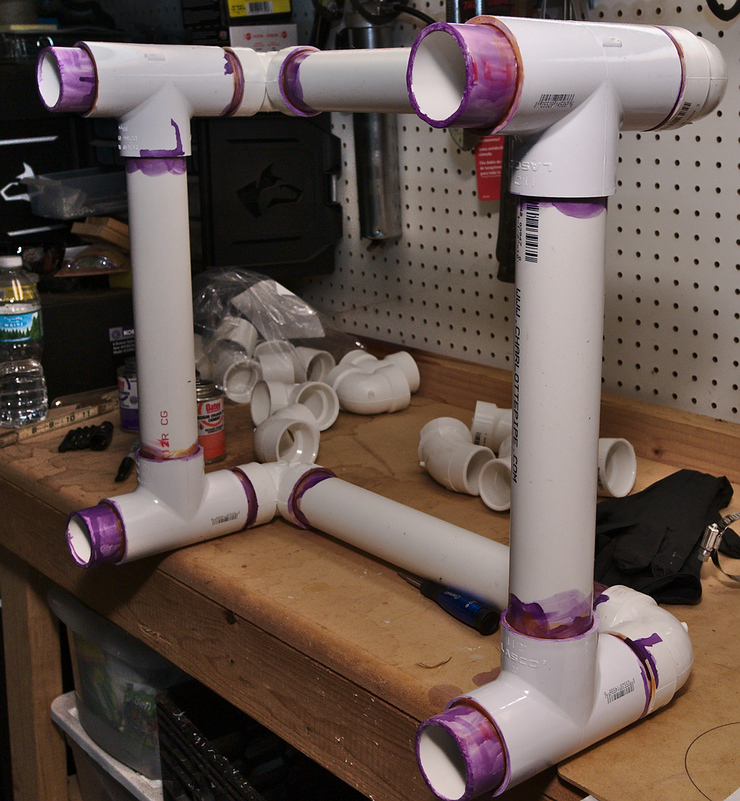
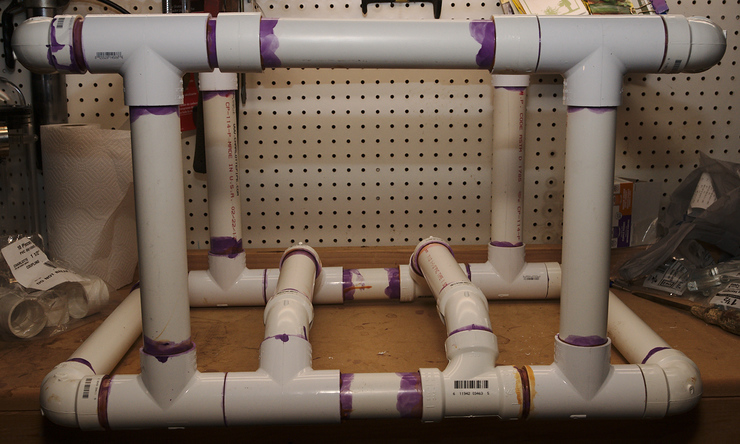
Cross-section member added for strength/mounting of lower compartment:
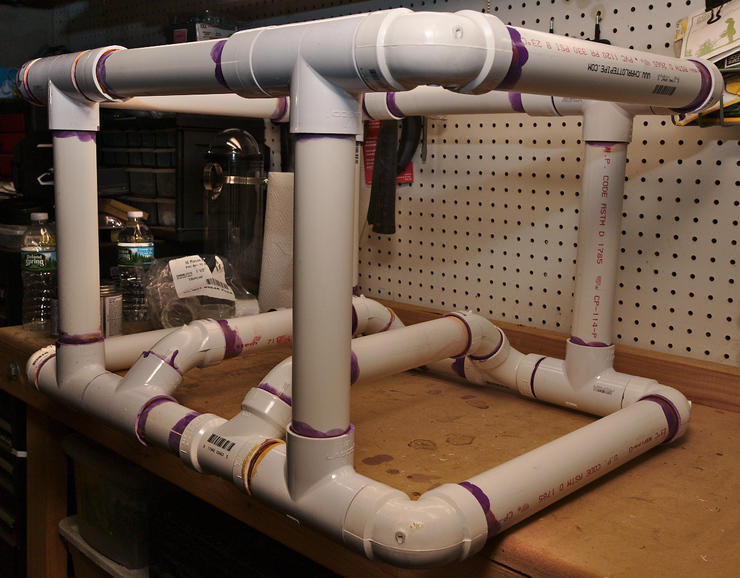
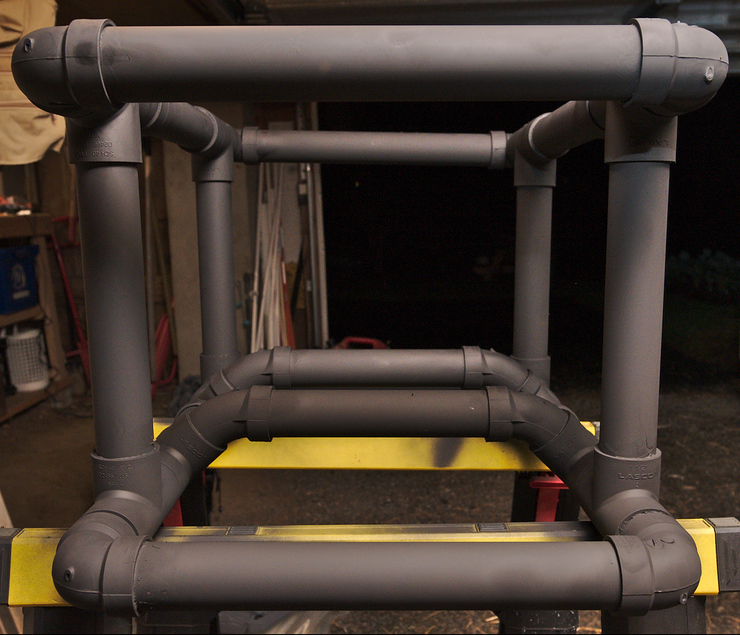
Two completed half sections of the frame:
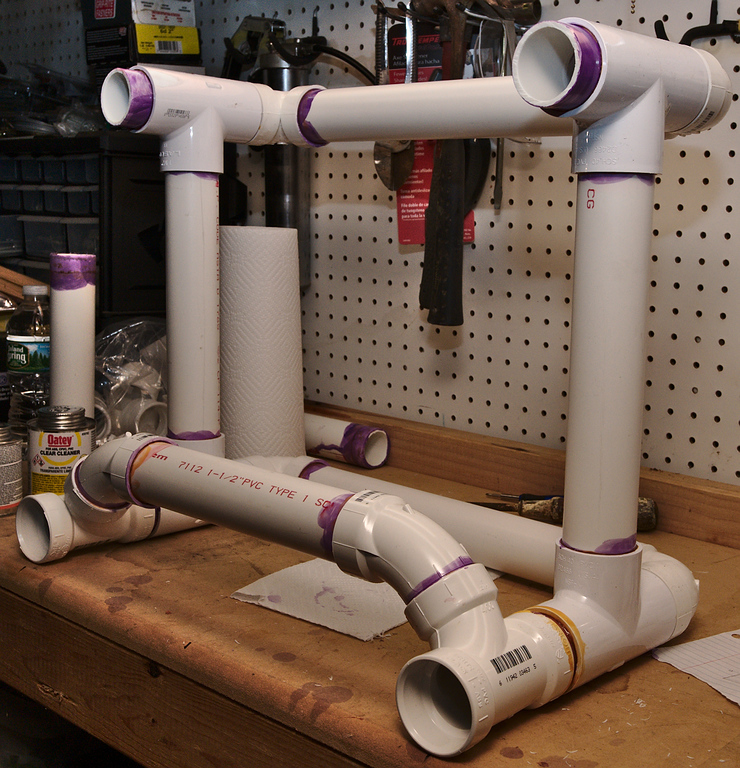
Frame halves joined together:
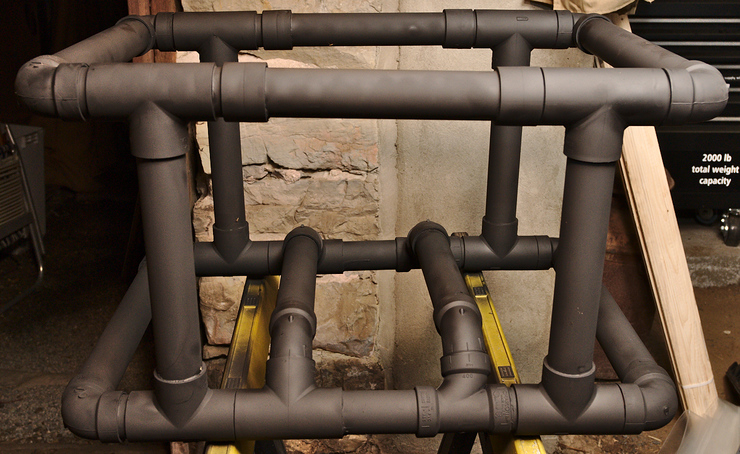
Coat of black paint:
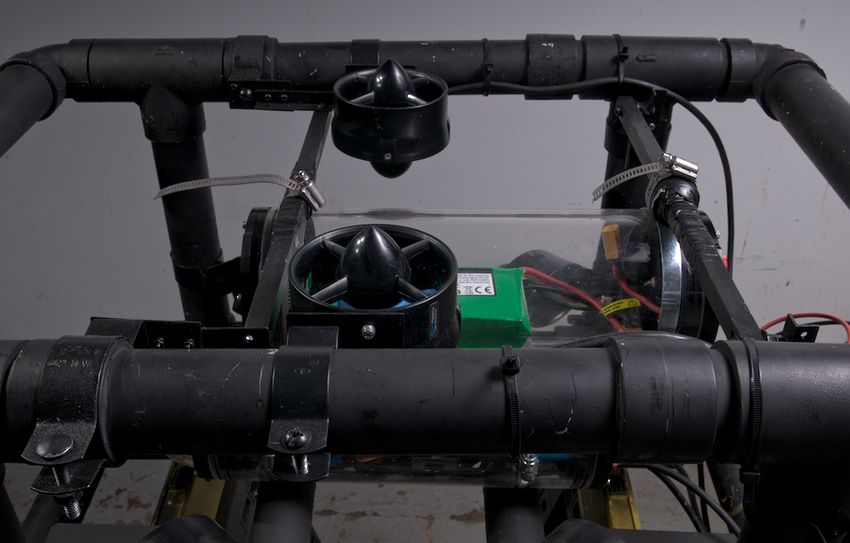
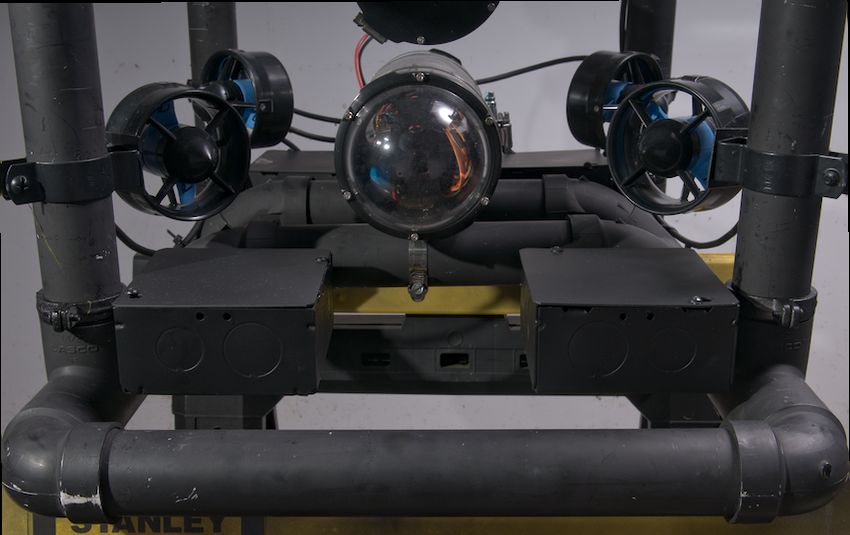
6 thrusters and water-tight compartments added:
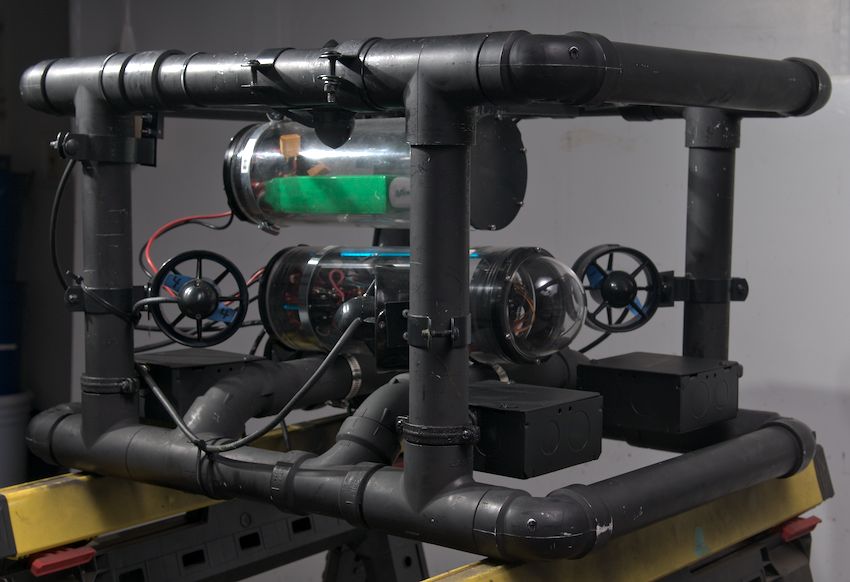
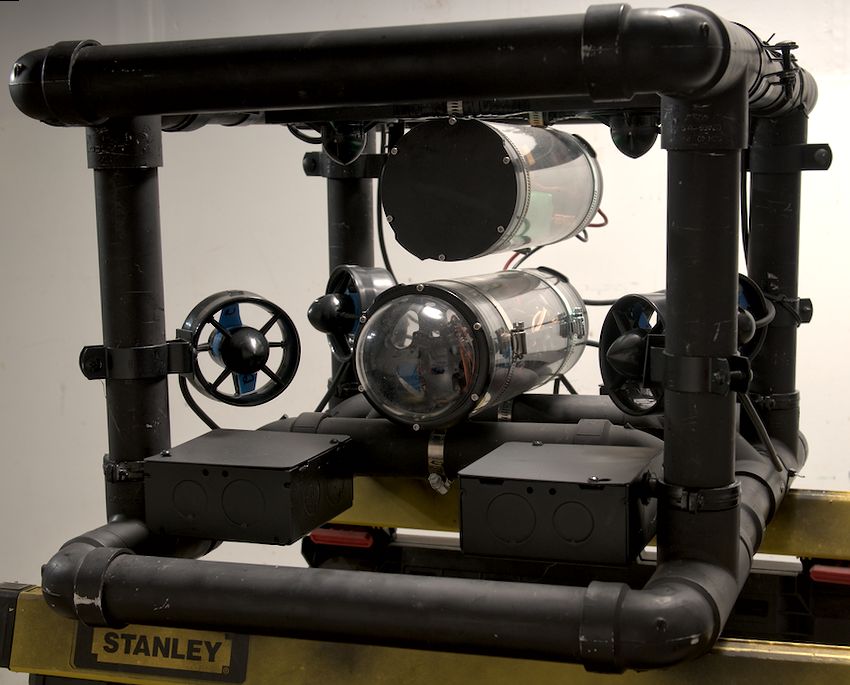
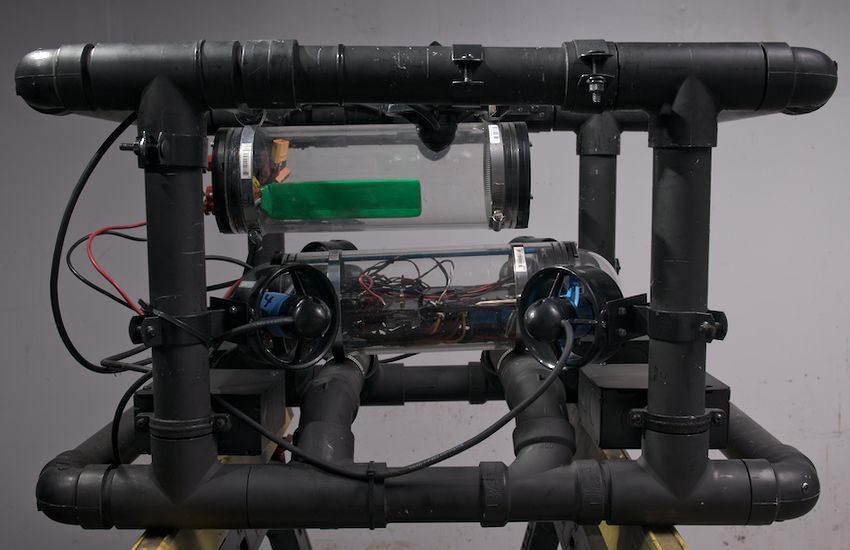
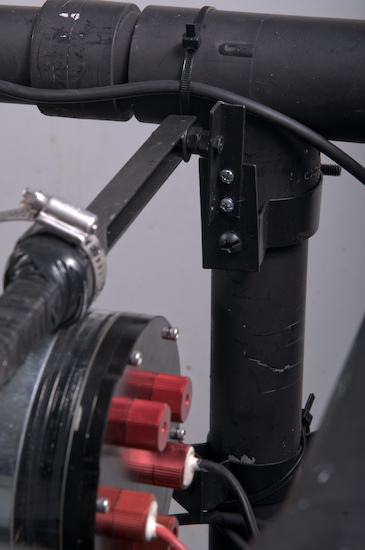
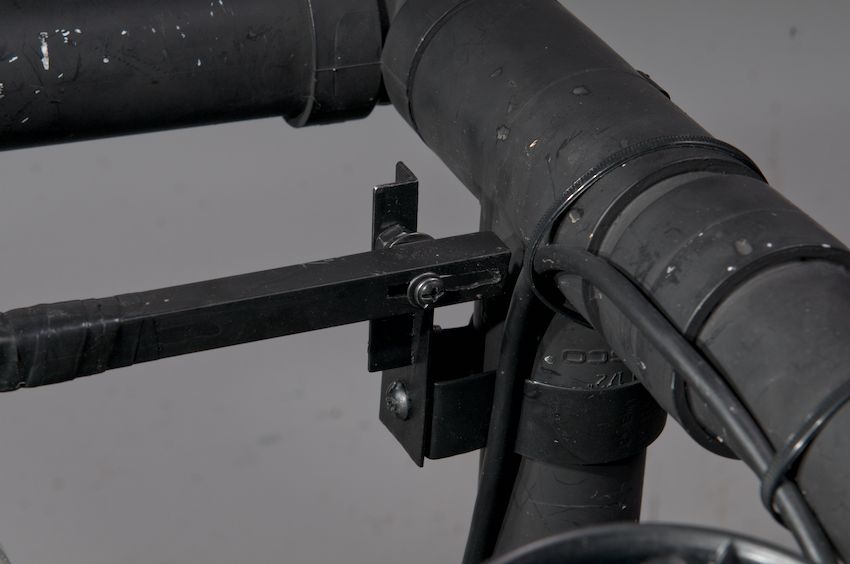
Metal conduit brackets from Lowes were used to make some "custom" mounts for the thrusters. Additionally, some scrap pieces of aluminum were used to fabricate crude brackets for the upper water-tight compartment.
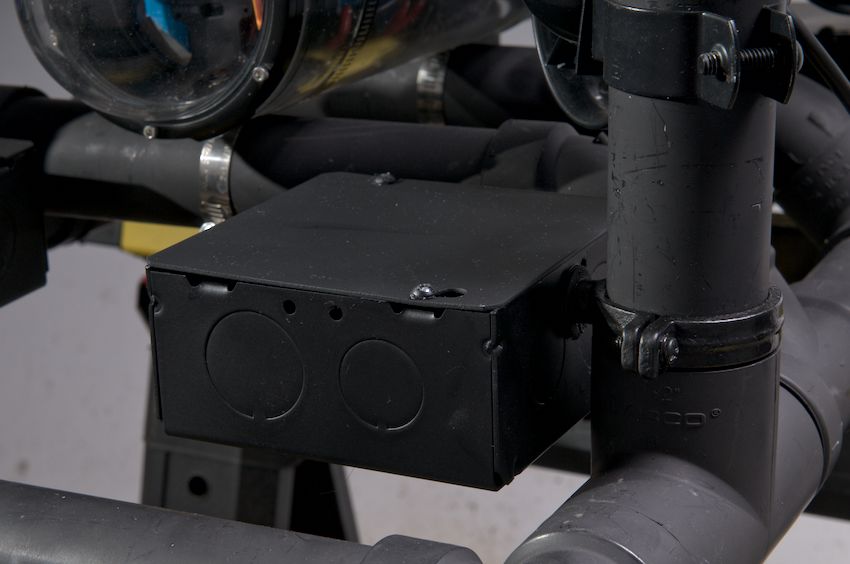
Lastly, I attached four electricians conduit boxes (also from Lowes) to the lower four corners of the frame. This was done as a way to add ballast/weight to the boxes and achieve neutral buoyancy and balance to the vehicle. Holes were dilled in the sides of the boxes and then they were attached to the frame using pipe hangers. Holes were also drilled throughout the PVC frame to allow water to fill the cavities. Prior to doing this, the vehicle was excessively positive buoyant.
Now that we have a decent overview of the frame design it may be helpful to next look at the basic operation of the thrusters chosen for this project and the basic concept of controlling them.